 Save to Pinterest
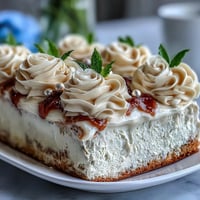
 My neighbor Maria showed up at my door one afternoon with a plastic container of these guava cake bars, still warm from her oven, and I understood immediately why she'd been so insistent that I learn to make them. The first bite was a revelation—buttery, tender cake cradling ribbons of that deep pink guava paste, each element distinct yet perfectly married together. She sat at my kitchen table and walked me through it like she was sharing a family secret, which, in a way, she was. That afternoon became one of those cooking moments where technique mattered less than understanding why each step existed. Now these bars are what I reach for when I want to feel close to that kind of generous, uncomplicated hospitality.
I brought a batch of these to my daughter's school potluck, and they disappeared before the brownies—I watched a kid go back three times, each time acting like he'd just discovered them. That's when I realized these bars had crossed some invisible line from being a nice dessert to being something people actually crave. The simplicity of the ingredient list belies how genuinely craveable they are, and maybe that's the real magic of them.
Ingredients
- All-purpose flour (2 cups): This is your foundation, and measuring by weight if you can makes a real difference in consistency—spoon and level, never scoop straight from the bag.
- Baking powder (1½ teaspoons): This gives the cake its tender crumb, so don't skip it or substitute with baking soda unless you know what you're doing.
- Fine sea salt (¼ teaspoon): A small amount that amplifies the sweetness and makes the guava flavor sing without tasting salty.
- Unsalted butter (½ cup, softened): Softened means it should yield slightly to your finger—cold butter will make creaming with sugar frustrating, and melted butter changes the whole texture.
- Granulated sugar (¾ cup): This creams with the butter to trap tiny air bubbles that make the cake light and tender.
- Large eggs (3, room temperature): Room temperature eggs incorporate more smoothly, creating a more stable batter—leave them out for 15 minutes if you forget.
- Vanilla extract (1 teaspoon): One full teaspoon makes itself known without being aggressive, adding warmth to the background.
- Whole milk (⅓ cup): This keeps the batter from becoming too thick as you alternate adding dry and wet ingredients.
- Guava paste (12 oz): Look for the blocks or canned versions—slice it thin yourself rather than buying pre-sliced, as homemade strips lay more evenly and stay where you put them.
Tired of Takeout? 🥡
Get 10 meals you can make faster than delivery arrives. Seriously.
One email. No spam. Unsubscribe anytime.
Instructions
- Prepare your pan and heat:
- Line an 8x8-inch baking pan with parchment paper, letting the edges overhang so you can lift the whole thing out after baking. Preheat your oven to 350°F while you work on the batter—a properly heated oven makes the difference between bars that bake unevenly and ones with that perfect golden top.
- Mix the dry team:
- Whisk flour, baking powder, and salt together in a medium bowl, making sure the leavening is evenly distributed throughout. This little bit of whisking prevents lumps and ensures every bite has the same tender crumb.
- Cream butter and sugar:
- Beat softened butter with sugar in a large bowl until the mixture looks pale, fluffy, and noticeably lighter in color—this usually takes 2 to 3 minutes with an electric mixer. This creaming step is doing real work, trapping air that will make your bars tender rather than dense.
- Add eggs one at a time:
- Drop in each egg individually, beating well after each addition so it fully incorporates before the next one goes in. If the mixture looks slightly curdled after adding eggs, don't panic—it'll come together once you add the dry ingredients.
- Mix in vanilla:
- Stir in the vanilla extract, which adds a subtle warmth that keeps the guava from being one-note sweet.
- Alternate and combine:
- Add about a third of the flour mixture, then half the milk, then another third of flour, then the rest of the milk, and finish with the final third of flour. Stir just until combined after each addition—overmixing develops gluten and makes the bars tough, which is not what we want here.
- Layer the first dough:
- Spread exactly half of your batter evenly across the prepared pan using a spatula, pressing gently to eliminate air pockets. Try to get it as level as possible so the guava layer sits evenly.
- Add the guava:
- Arrange thin slices of guava paste in a single layer over the dough, leaving a tiny border around the edges so the layers seal together as they bake. The slices don't need to be perfect—slight gaps are fine and actually better than trying to force complete coverage.
- Cover with remaining dough:
- Spread the rest of the batter carefully over the guava layer, using a damp spatula or your fingertips to gently press it into place without disrupting the filling. Wetness helps here—a dry spatula will drag the dough around.
- Bake until golden:
- Bake for 38 to 42 minutes, checking around the 35-minute mark so you're not surprised. The top should be deep golden and a toothpick inserted into the cake portion (avoiding the guava) should come out clean.
- Cool completely:
- Let the bars cool entirely in the pan—this takes about an hour and matters more than you'd think because warm bars will crumble when you cut them. Once cool, grip the parchment overhang and lift the whole block out onto a cutting board, then slice into 16 neat squares with a sharp knife.
 Save to Pinterest
 There's a moment after the first batch came out of my oven when the kitchen smelled absolutely incredible—buttery cake mixing with that warm, concentrated guava sweetness—and my husband walked in, inhaled deeply, and didn't say anything, just raised his eyebrows at me. That silent acknowledgment felt like winning something small and perfect. These bars became our thing after that, the dessert we'd make on Sunday afternoons when we wanted the kitchen to smell like home.
The Secret of the Guava Layer
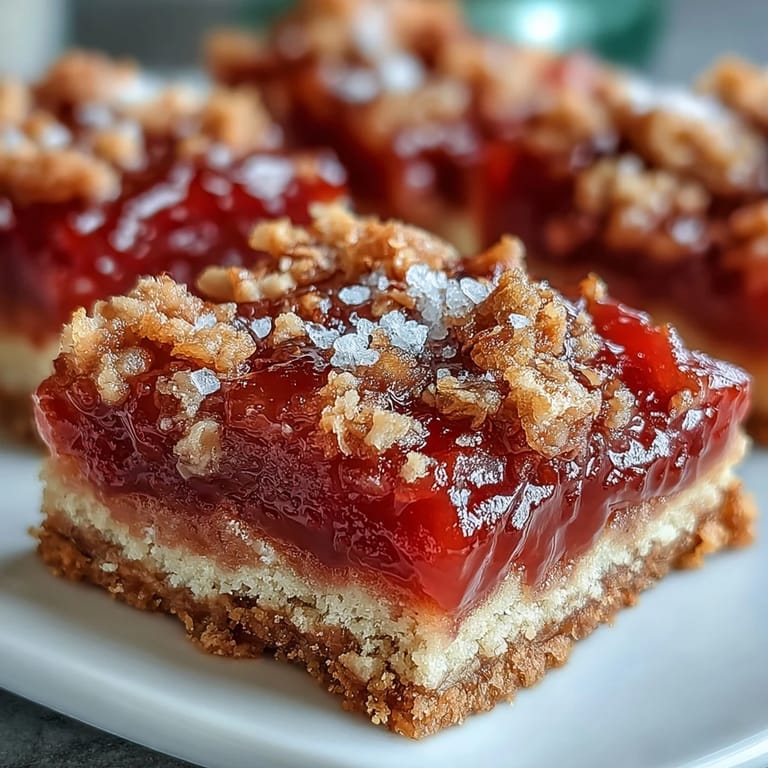
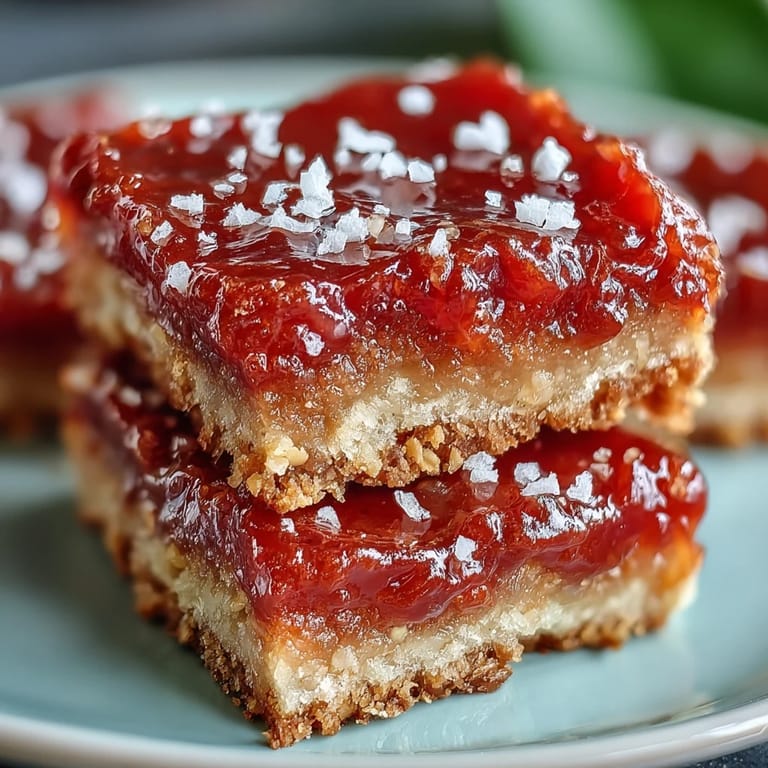
Most bakers either drown their guava in too much paste or skimp on it, missing the balance entirely. The right amount creates a visible ribbon through each bar without becoming the dominant flavor—the guava should be a luxurious surprise, not the whole story. Thin slicing matters because thick chunks don't cook through properly and taste raw in the middle, while thin strips meld into the surrounding cake, creating those moments of concentrated sweetness that make people ask for the recipe.
Why These Bars Stay Tender
The alternating method of adding dry and wet ingredients, starting and ending with flour, creates a batter that's hydrated just enough without being soupy. Too much milk makes the bars cakey in a mushy way; too little makes them dense and crumbly. The balance creates a texture that's neither cake nor cookie but something in between—tender enough to bite through cleanly, sturdy enough to hold together when you pick one up. This is why overmixing ruins everything—you're looking for just barely combined, where you can still see faint flour streaks disappearing into the batter.
Storage and Variations
These keep beautifully at room temperature for three days in an airtight container, staying tender and not drying out the way some bars do. For tropical brightness, add lime zest to the dough—about a teaspoon of finely grated zest mixed in after the vanilla. If you're feeling adventurous, thin cream cheese can replace half the guava paste for something richer and less purely sweet, though this version tastes distinctly different and slightly more sophisticated.
- A hint of cinnamon mixed into the dough adds warmth without announcing itself loudly.
- Room temperature bars taste noticeably better than cold ones, so pull them from storage about 20 minutes before serving.
- These freeze beautifully for up to a month, thawing at room temperature in a sealed container so they don't dry out.
 Save to Pinterest
 These bars remind me that sometimes the most beloved desserts are the simple ones, where good ingredients and careful technique create something genuinely special. Make them once and they'll become a regular in your rotation, the kind of treat people start expecting from you.
Recipe FAQs
- → What makes these bars distinctly Cuban?
Guava paste is a staple ingredient in Cuban cuisine, and these bars (known as pastelitos de guayaba) are a beloved traditional treat found in Cuban bakeries and homes throughout the island and in Cuban-American communities.
- → Can I use fresh guava instead of paste?
Guava paste is essential for this recipe because it provides a concentrated, thick consistency that holds its shape during baking. Fresh guava would be too watery and wouldn't create the distinct filling layer these bars are known for.
- → How do I store these bars?
Store in an airtight container at room temperature for up to 3 days. The bars actually develop deeper flavor on the second day as the guava filling melds with the pastry. You can also freeze them for up to 3 months, wrapped individually.
- → Why is my dough hard to spread over the guava?
The dough can be sticky and difficult to spread. Try dipping your fingers or spatula in water to prevent sticking, or place the dough between sheets of parchment paper and roll it out, then transfer it over the guava layer.
- → Can I add cream cheese to the filling?
Absolutely! Many Cuban bakeries serve guava and cream cheese pastries together. You can spread a thin layer of softened cream cheese over the guava paste, or mix some cream cheese into half the guava for a creamy variation.
- → What should I serve with these bars?
These are delicious on their own, but you can serve them with a café con leche (Cuban coffee) for an authentic experience. They also pair well with vanilla ice cream or a dollop of whipped cream for an extra indulgent dessert.