 Save to Pinterest
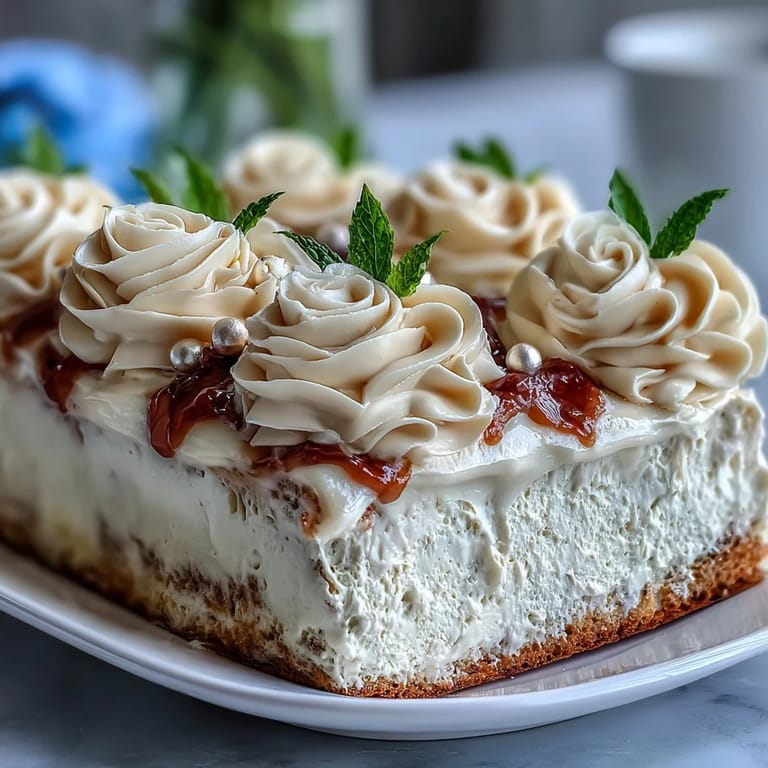
 The first time I attempted a graduation sheet cake, a gentle rain was tapping at the kitchen window and the smell of vanilla filled the air. The challenge of piping buttercream roses felt oddly comforting—as if the messiness of celebration mirrored the stray petals I kept fixing. It wasn't just a dessert to me, but a canvas, each swirl meant to mark accomplishment and joy. I still remember the sound of laughter echoing off the mixing bowls as family dropped by to sneak tastes of frosting. Cakes like this always seem to draw people in, even before a single candle is lit or tassel is tossed.
One afternoon, I baked this cake for my cousin's college graduation—she arrived early and ended up helping me mix colors for the roses, chasing fondant ribbons around the table. We laughed at our attempts to pipe perfect leaves, and later, as guests filed in, every slice was greeted with smiles. I learned how sharing the process is just as festive as sharing the cake itself.
Ingredients
- All-purpose flour: This forms the structure, so sift well and measure accurately for an even crumb.
- Granulated sugar: It sweetens the cake perfectly, but creaming it fully with butter gives that essential fluffy texture.
- Unsalted butter: Using softened butter is key—don't rush, or your batter won't come together smoothly.
- Whole milk: Room temperature milk blends flawlessly and keeps the cake moist; cold milk can alter the rise.
- Eggs: Six eggs add richness—crack them one by one to avoid surprise shells.
- Vanilla extract: Vanilla boosts warmth and depth; I opt for pure extract for aroma.
- Baking powder: Leavening ensures a light crumb; sift to prevent uneven spots.
- Salt: A little salt balances sweetness and heightens flavors.
- Powdered sugar: Sifted powdered sugar is essential for perfectly smooth buttercream.
- Food coloring (gel): Gel colors stay vibrant without watering down the frosting—a little goes a long way.
- Edible pearls and fondant: These accent decorations add sparkle and charm, but check labels for allergies.
Tired of Takeout? 🥡
Get 10 meals you can make faster than delivery arrives. Seriously.
One email. No spam. Unsubscribe anytime.
Instructions
- Set up your cake pan:
- Grease and line your sheet pan, smoothing out corners so the cake pulls away cleanly.
- Cream butter and sugar:
- Beat butter and sugar until pale and airy—the mixer will start to sound quieter as the mixture fluffs up.
- Add eggs and vanilla:
- Mix in eggs, one at a time, watching the batter grow glossy after each addition; finish with vanilla for aroma.
- Combine dry ingredients:
- Whisk flour, baking powder, and salt in a separate bowl so they're thoroughly mixed, avoiding any clumps.
- Mix wet and dry:
- Add flour in thirds, alternating with milk, folding gently—the batter should be smooth but don't overwork it.
- Bake and cool:
- Pour into the pan and smooth the top; bake until golden and a toothpick comes out clean, then cool on a rack.
- Make buttercream:
- Beat butter until creamy, then add powdered sugar gradually—watch for that cloud of sugar, and keep scraping the bowl.
- Color and prep:
- Divide frosting into bowls and tint with gel colors—the hues will intensify as you stir.
- Frost cake:
- Spread a smooth base layer of white buttercream, using an offset spatula for sharp edges.
- Pipe decorations:
- With piping bags, create roses and leaves—practice a few on parchment first if you’re nervous.
- Add diploma and accents:
- Shape a fondant scroll and ribbon, then position on the cake; add pearls for sparkle.
 Save to Pinterest
 When I finally placed the edible diploma atop the cake, my niece's eyes widened—her name written in buttercream made it feel like a trophy. That moment captured more pride than any speech or ceremony could, and the cake itself became a memory everyone wanted to photograph before the first slice.
Getting the Buttercream Just Right
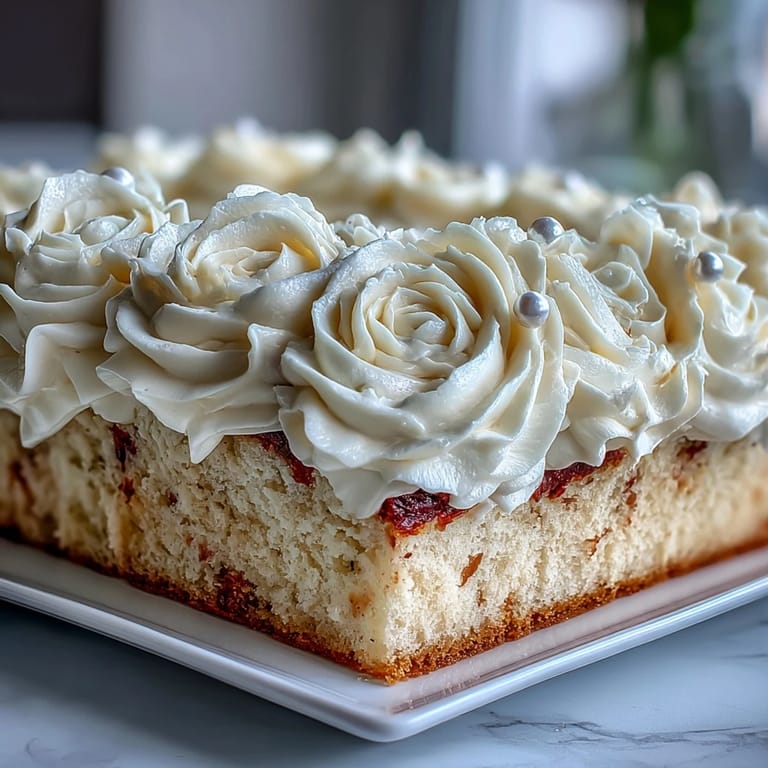
The secret to smooth, pipe-able buttercream rests in beating the butter until almost white and fluffy before adding sugar. I’ve learned to let my mixer run a bit longer than usual, even if it feels redundant, because airy frosting pipes like a dream and holds its shape—especially for delicate roses and scrolls.
Decorating Without Stress
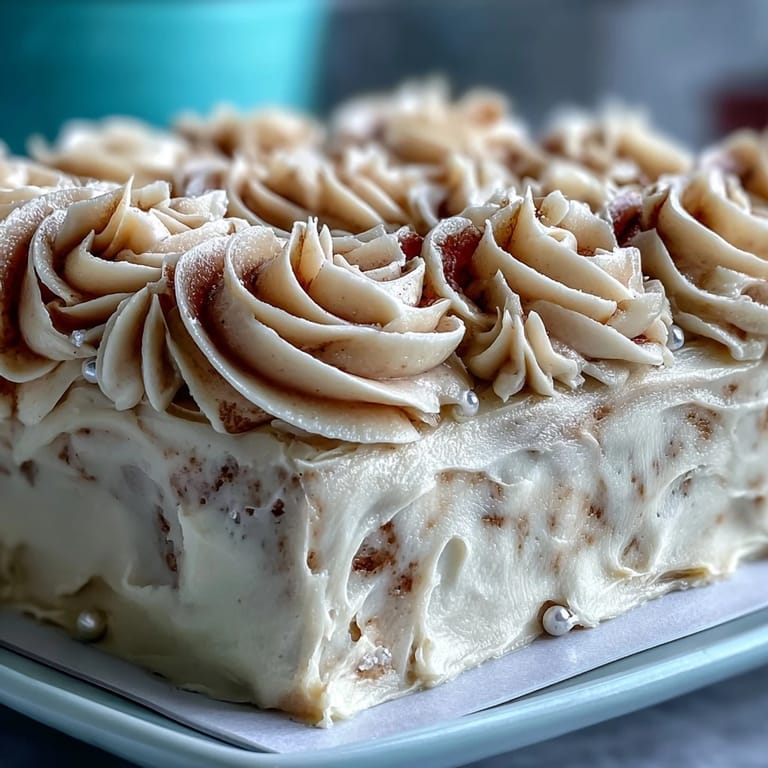
Piping roses intimidated me until I started practicing shapes on parchment paper first. It’s easier to lift off mistakes, and you can reuse the frosting. Mixing gel color gradually lets you control brilliance—I never go all in at once, just tiny dots and gentle swirls until the shade feels celebratory enough.
Party Prep and Presentation Tricks
To keep the cake moist for hours, I cover it in plastic wrap until guests arrive and only add the last decorations right before serving. Having all your piping bags prepped ahead makes assembly much more fun, and prevents frantic scrambling in the final stretch.
- Do a quick crumb coat first for smoother final frosting.
- Let kids help with edible pearls—they love making patterns.
- Avoid moving the decorated cake until everything is set and stable.
 Save to Pinterest
 I hope your graduation cake dazzles as much as those years of hard work—every buttercream rose marks a new beginning. Enjoy making, decorating, and celebrating together.
Recipe FAQs
- → How do I achieve vibrant buttercream colors?
Use gel food coloring for rich, non-watery hues. Mix gradually until the desired shade appears.
- → Can I customize the decorations?
Decorate with edible pearls, fondant scrolls, and school colors for personalized touches. Adapt as desired for the event.
- → How should I store the cake?
Store covered at room temperature for up to two days, or refrigerate to maintain freshness and buttercream texture.
- → What tools are needed for piping roses?
Piping bags with rose and leaf tips, an offset spatula, and mixing bowls will help shape and apply the buttercream decoration.
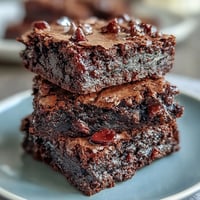
- → Can I make the cake chocolate flavored?
Substitute ¾ cup flour with cocoa powder to transform the cake’s flavor profile.
- → Is this suitable for vegetarians?
Yes, all core ingredients are vegetarian-friendly. Check decorations for allergens if needed.