 Save to Pinterest
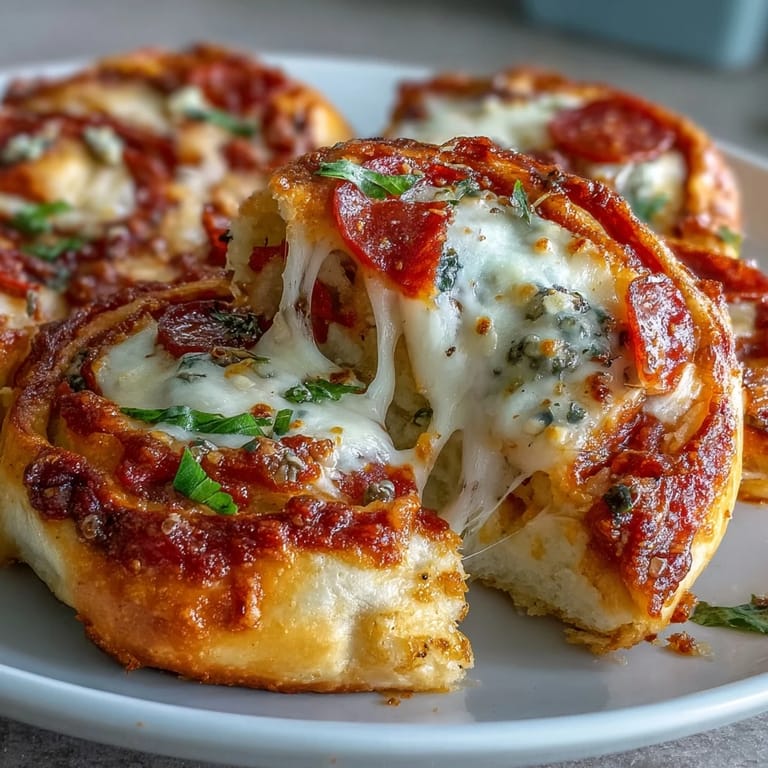
 My nephew stood in the kitchen one Saturday afternoon, staring into the fridge with that look kids get when they want something exciting but won't say it. I pulled out tortillas, cheese, and pepperoni, and within twenty minutes we had golden spirals cooling on the counter. He called them pizza scrolls and ate three before I could plate them properly. That's when I realized sometimes the best recipes are the ones you stumble into because someone's hungry and you're willing to improvise.
I brought a tray of these to a potluck once, still warm and sliced into pinwheels. People kept asking if I'd ordered them from somewhere, which made me laugh because the whole appeal is how simple they are to throw together. By the end of the night, someone had written down the instructions on a napkin. I found out later she made them for her book club, and now I get texts every few months asking if I remember the exact oven temperature.
Ingredients
- Large flour tortillas: Choose soft, pliable ones that won't crack when rolled, and let them sit at room temperature for a few minutes if they've been refrigerated.
- Pizza sauce: The spreadable kind works best, thick enough to cling without soaking through the tortilla and making it soggy.
- Shredded mozzarella cheese: Freshly shredded melts more evenly than pre-shredded, but both work if you're in a hurry.
- Diced pepperoni: Cutting it into smaller pieces distributes the flavor better and prevents big chunks from pushing out when you roll.
- Sliced black olives: Pat them dry with a towel so they don't add extra moisture that could make the rolls steam instead of crisp.
- Diced bell peppers: Any color works, but red and yellow add a slight sweetness that balances the saltiness of the pepperoni.
- Garlic powder: A light dusting adds depth without overpowering the other flavors.
- Italian seasoning: This little sprinkle makes the whole thing smell like a pizzeria while it bakes.
- Red pepper flakes: Optional, but a pinch gives just enough heat to keep things interesting.
- Cooking spray or olive oil: Brushing the tops before baking turns them golden and crispy instead of pale and chewy.
Tired of Takeout? 🥡
Get 10 meals you can make faster than delivery arrives. Seriously.
One email. No spam. Unsubscribe anytime.
Instructions
- Prep the oven and pan:
- Set your oven to 400°F and line a baking sheet with parchment paper so nothing sticks. If you skip the parchment, you'll spend ten minutes scraping cheese off the pan later.
- Spread the sauce:
- Lay a tortilla flat and spread a quarter cup of pizza sauce evenly, leaving a half-inch border so it doesn't squish out when you roll. Use the back of a spoon for the smoothest layer.
- Layer the cheese and toppings:
- Scatter half a cup of mozzarella over the sauce, then add the pepperoni, bell peppers, and olives in an even layer. Don't pile it all in the center or the roll will be lopsided.
- Season generously:
- Sprinkle garlic powder, Italian seasoning, and red pepper flakes if you like a little kick. These small touches make the difference between good and great.
- Roll it tight:
- Starting from one edge, roll the tortilla snugly into a log, tucking as you go to keep the filling contained. A loose roll will fall apart in the oven.
- Repeat for remaining tortillas:
- Assemble the other three tortillas the same way, working quickly so the first ones don't sit too long before baking.
- Brush with oil:
- Place the rolls seam-side down on the baking sheet and brush the tops lightly with olive oil or mist with cooking spray. This step is what gives them that irresistible golden crust.
- Bake until golden:
- Slide the pan into the oven and bake for 15 to 20 minutes, watching for the tops to turn golden and the cheese to bubble at the seams. The smell will tell you when they're close.
- Cool and slice:
- Let the rolls rest for a few minutes so the cheese firms up slightly, then slice each one into bite-sized rounds. Serve them while they're still warm and the cheese is gooey.
- Serve with extra sauce:
- Pour some pizza sauce into a small bowl for dipping. People will use more than you think.
 Save to Pinterest
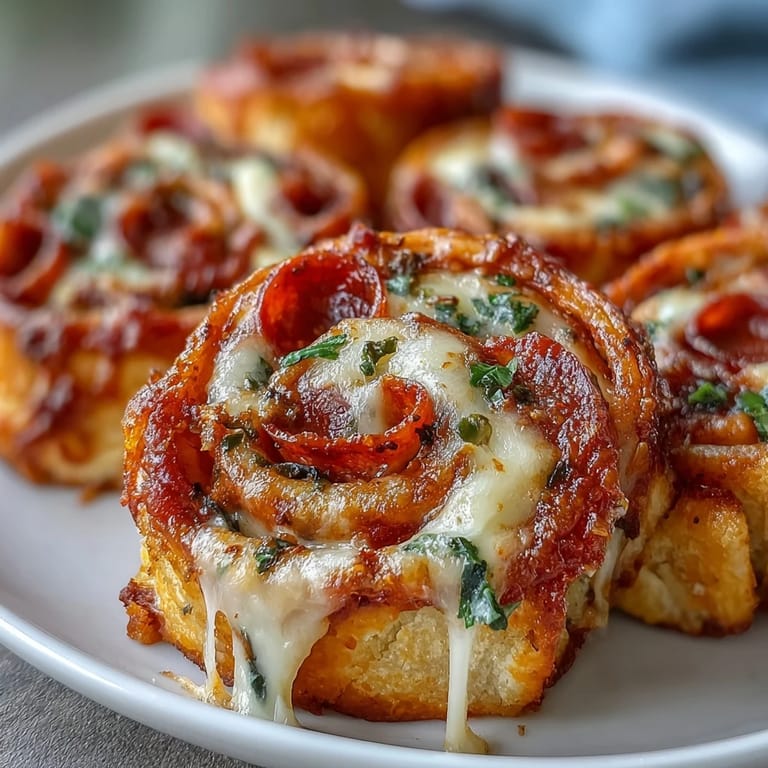
 One evening I made these for a friend who'd just moved into a new apartment and didn't have much in her kitchen yet. We sat on her floor with paper plates, laughing about how fancy they looked despite being made with five ingredients. She told me later that it was the first meal that made the place feel like home. I think about that every time I roll another batch.
Customizing Your Rolls
The beauty of this recipe is how easily it bends to whatever you have on hand or whatever your crowd prefers. Swap the pepperoni for cooked sausage, diced ham, or even grilled chicken if you want something lighter. Vegetarians can load up on mushrooms, spinach, sun-dried tomatoes, and extra cheese without missing a thing. I've even made dessert versions with Nutella and sliced strawberries, baked at a lower temperature so the tortilla crisps without burning the chocolate. The formula stays the same, but the flavors can go anywhere you want.
Making Them Ahead
If you want to prep these in advance, assemble the rolls completely, then wrap each one tightly in plastic wrap and freeze them on a baking sheet. Once they're solid, transfer them to a freezer bag and they'll keep for up to two months. When you're ready to bake, place them frozen on a parchment-lined sheet, brush with oil, and add an extra five minutes to the cooking time. They come out just as crispy and cheesy as fresh ones, and nobody will ever know they started in the freezer. I keep a stash for those nights when I need something fast but don't want to compromise on flavor.
Serving Suggestions
These rolls shine as a party appetizer because they look impressive but require almost no effort. Arrange the sliced pinwheels on a platter with small bowls of marinara, ranch, or garlic aioli for dipping. They're also perfect for lunch boxes, game day spreads, or as a quick dinner paired with a simple green salad. I've served them alongside chicken wings and mozzarella sticks for a full finger-food feast, and they always disappear first.
- Pair with a crisp Caesar salad to balance the richness.
- Serve with a side of roasted vegetables for a more complete meal.
- Offer a variety of dipping sauces so everyone can choose their favorite.
 Save to Pinterest
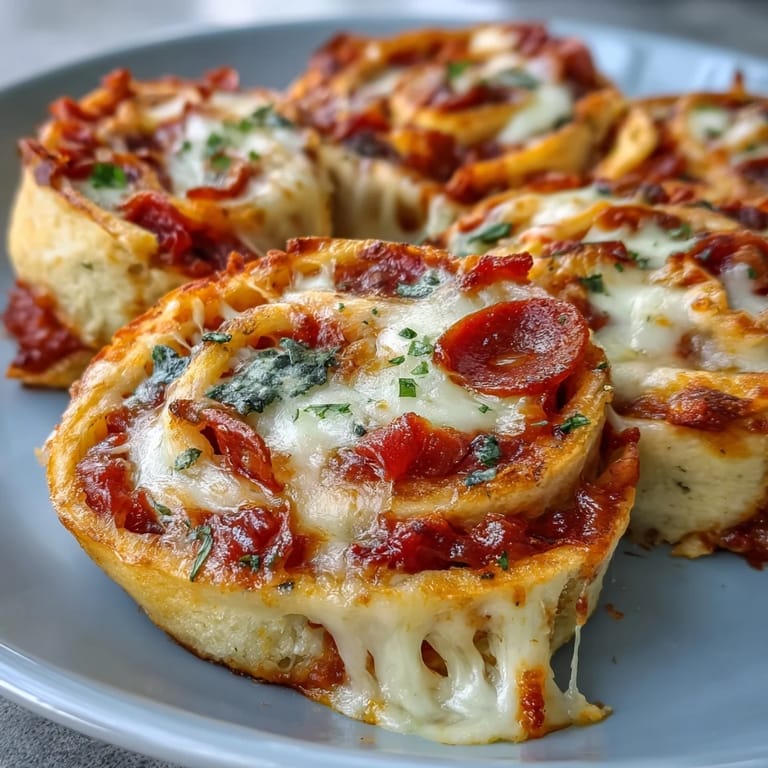
 This recipe has become my go-to whenever I need something quick, crowd-pleasing, and just a little bit fun. I hope it becomes one of those dishes you make without thinking, the kind that fills your kitchen with warmth and your table with happy people.
Recipe FAQs
- → Can I make these tortilla rolls ahead of time?
Yes, assemble the rolls and freeze them unbaked. When ready to serve, bake directly from frozen, adding 3-5 extra minutes to the cooking time. The filling stays fresh and the texture remains excellent.
- → What other toppings work well in these rolls?
Cooked sausage, mushrooms, spinach, diced onions, or jalapeños all make excellent additions. Just keep the portion moderate to ensure the tortilla rolls tightly without splitting during baking.
- → How do I prevent the tortillas from getting soggy?
Avoid over-saucing and leave a small border around the tortilla edges. Brushing the exterior with olive oil before baking also helps create a crispy barrier that protects the tortilla from moisture.
- → Can I use corn tortillas instead of flour?
Corn tortillas tend to crack when rolled tightly and may not hold the filling as well. Flour tortillas provide the flexibility needed for rolling and develop a better crispy texture when baked.
- → What's the best way to slice the rolls for serving?
Let the rolls cool for about 5 minutes after baking so the cheese sets slightly. Use a sharp knife and saw gently through the crispy exterior. Slice into 2-3 inch pieces for optimal bite-sized portions.
- → How should I store leftovers?
Refrigerate cooled rolls in an airtight container for up to 3 days. Reheat in a 350°F oven for 8-10 minutes to restore crispiness. The microwave works but will soften the tortilla exterior.