 Save to Pinterest
 There's something magical about the moment beets transform in the oven—their earthy sweetness intensifying as the heat works its magic. I discovered this roasted beet hummus during a lazy Sunday when I wanted something that felt both special and effortless, something that would make my kitchen smell like a Mediterranean market. What started as an experiment with leftover roasted vegetables became the dip I make whenever I need to impress without stress. The deep magenta color alone gets people talking before they even taste it.
I made this for a potluck where someone quietly mentioned they were trying to eat more plant-based foods but never found anything exciting. Watching them come back for a second helping while asking for the recipe—that's when I realized this hummus was special. It wasn't just food; it was permission to enjoy something wholesome without compromise.
Ingredients
- 1 medium beet (about 180 g), trimmed and scrubbed: The star of the show—roasting brings out its natural sweetness and creates that stunning color that makes people stop mid-conversation.
- 1 small garlic clove, peeled: Use just one; you want a whisper of garlic, not a shout that overpowers the delicate earthiness.
- 400 g (1 can) chickpeas, drained and rinsed: The protein backbone that makes this creamy and filling—always rinse them to remove excess starch.
- 3 tbsp tahini: This is your secret weapon for richness and authenticity; don't skip it or substitute with peanut butter.
- 2 tbsp fresh lemon juice (about 1 lemon): Fresh citrus brightens everything and prevents the hummus from tasting heavy.
- 2 tbsp extra-virgin olive oil, plus more for drizzling: Quality matters here since it's a prominent flavor; cheap oil will taste thin and forgettable.
- ½ tsp ground cumin: The warm spice that ties the whole composition together—toast it in your palm first to wake it up.
- ¼ tsp sea salt, or to taste: Sea salt dissolves more gracefully than table salt and tastes cleaner.
- 2–3 tbsp cold water (as needed): This controls the texture; add it gradually and taste as you go.
Tired of Takeout? 🥡
Get 10 meals you can make faster than delivery arrives. Seriously.
One email. No spam. Unsubscribe anytime.
Instructions
- Roast the beet until it yields:
- Wrap your beet in foil and slide it into a 200°C (400°F) oven for 40–45 minutes—you'll know it's ready when a fork slides through like butter. Let it cool just enough to handle, then rub away the skin under cool running water and chop it roughly.
- Blend until the color blooms:
- Combine the roasted beet, chickpeas, garlic, tahini, lemon juice, olive oil, cumin, and salt in your food processor and blend until completely smooth, stopping to scrape down the sides when needed. The mixture should look creamy and unified, not grainy.
- Loosen it to your liking:
- With the motor running, add cold water one tablespoon at a time until you reach that perfect consistency—thick enough to hold its shape but silky enough to spread. This step takes patience, but it's what separates homemade hummus from store-bought.
- Taste and adjust:
- This is your moment to recalibrate—maybe it needs a pinch more salt, maybe another squeeze of lemon for brightness. Trust your palate, not the recipe.
- Finish and serve:
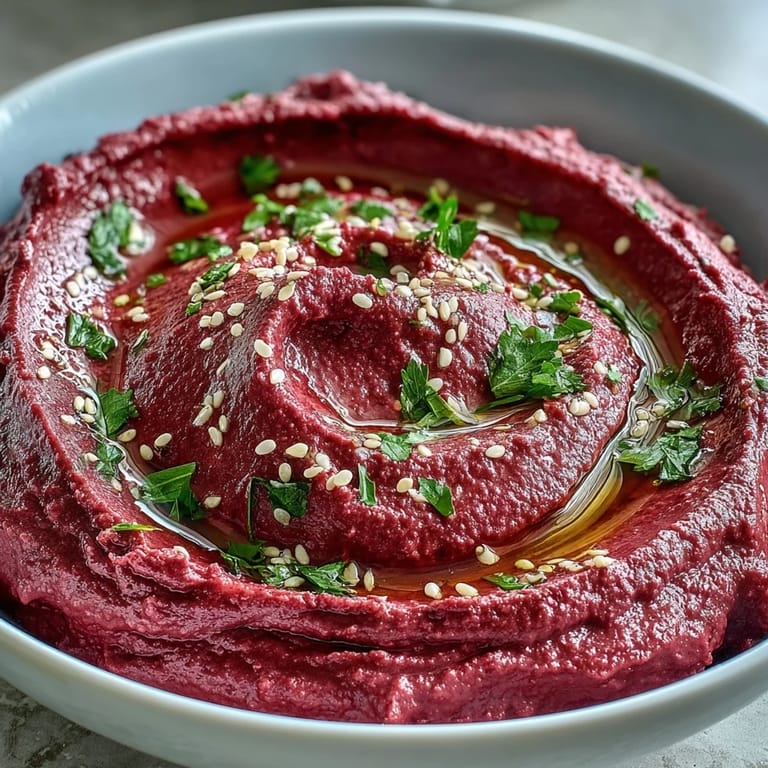
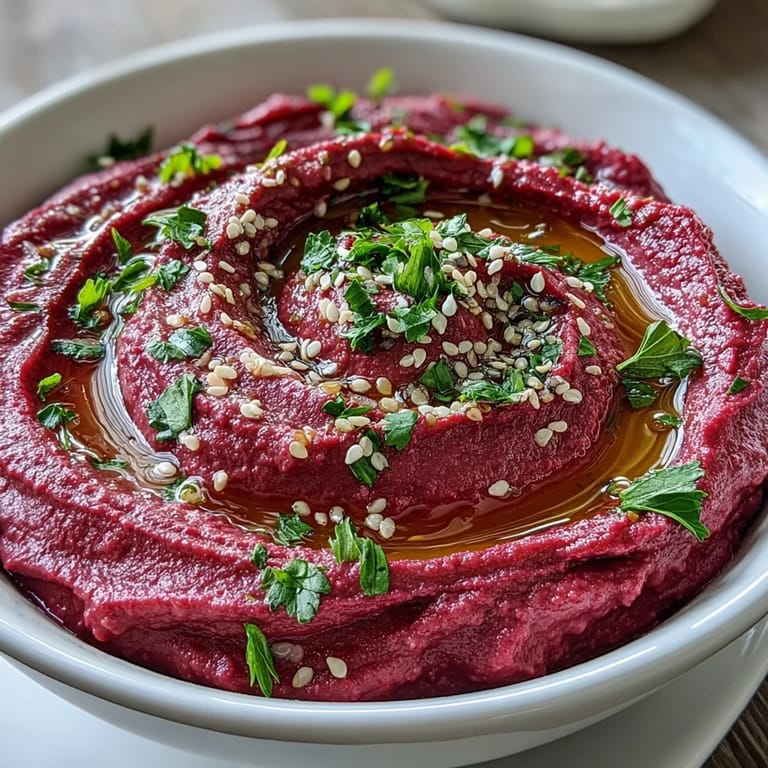
- Transfer to a bowl, create a shallow well in the center with the back of a spoon, and drizzle generously with olive oil. A light scatter of sesame seeds, fresh parsley, or cumin makes it look intentional.
 Save to Pinterest
 There was an evening when I served this to my neighbor who'd just moved in, and we ended up talking for two hours by the kitchen counter with nothing but this hummus, some torn pita, and a shared love of simple, honest food. That's when I understood that recipes aren't really about technique—they're about connection.
The Beet Roasting Moment
Roasting beets is one of those meditative kitchen tasks that fills your whole space with warmth and anticipation. The foil bundle in the oven becomes a promise—by the time the timer goes off, you'll have something tender and sweet waiting to be transformed. I've learned to roast extra beets on roasting day because once you taste roasted beet hummus, you'll want it again soon.
Why Tahini Matters
Tahini is what separates this from being just pureed beets and chickpeas; it's what gives the hummus its luxurious, velvety mouthfeel and its subtle nuttiness. I made the mistake once of using almond butter as a shortcut, and while it tasted fine, it lost the authentic Middle Eastern character that makes this special. Since then, I keep tahini stocked like it's non-negotiable, because in hummus, it truly is.
Making It Your Own
The foundation here is solid, but this recipe loves improvisation and personal touches. A pinch of smoked paprika adds a subtle depth, while a tiny dash of cayenne wakes things up if you like heat. Some days I blend in a handful of fresh herbs like cilantro or mint, and other times I keep it pure and earthy so the beet takes the spotlight.
- A hint of smoked paprika transforms the flavor into something sultry and unexpected.
- Don't fear the water—it's the difference between a thick paste and something people will actually spread.
- Store any leftovers in an airtight container and enjoy for up to four days, though honestly it rarely lasts that long.
 Save to Pinterest
 This roasted beet hummus is proof that sometimes the simplest combinations create the most memorable moments. Make it, share it, and watch what happens.
Recipe FAQs
- → What gives this hummus its pink color?
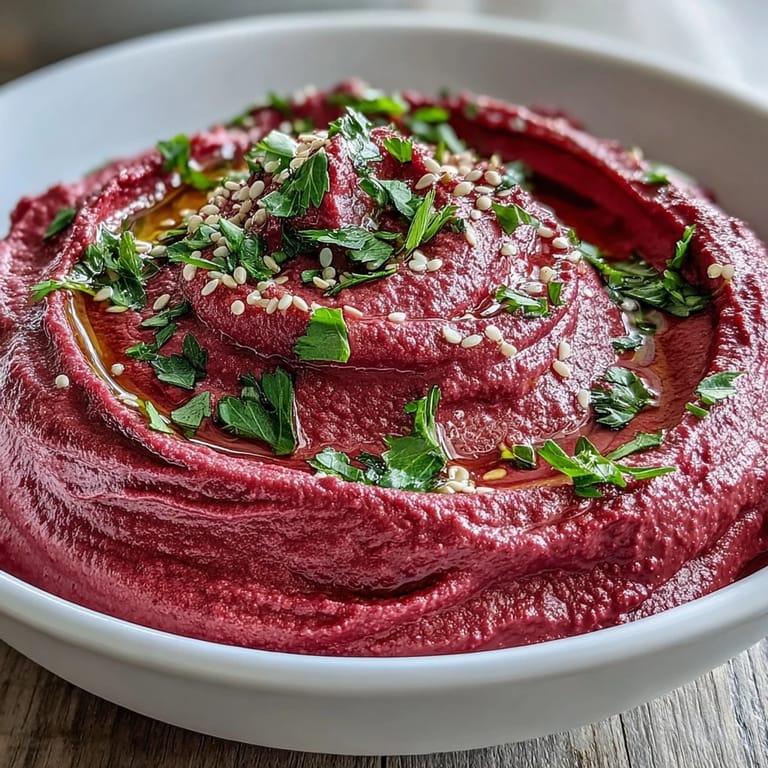
The vibrant pink hue comes entirely from roasted beets. One medium beet provides intense color without any artificial dyes or food coloring.
- → Can I use canned beets instead of fresh?
Fresh roasted beets provide superior sweetness and depth. Canned beets work in a pinch but may result in a slightly metallic taste and less vibrant color.
- → How long does this keep in the refrigerator?
Store in an airtight container for up to 4 days. The flavors actually develop and meld overnight, often tasting even better the next day.
- → What can I serve with roasted beet hummus?
Pair with warm pita bread, pita chips, fresh vegetables like carrots and cucumbers, or spread on sandwiches and wraps. Also excellent with crackers or toasted baguette slices.
- → Is this suitable for meal prep?
Absolutely. This dip actually benefits from sitting overnight as flavors deepen. Make a batch on Sunday and enjoy throughout the week for quick snacks or lunches.