 Save to Pinterest
 There's something magical about a recipe that requires just three ingredients and somehow tastes like you've been baking all afternoon. I discovered these flourless peanut butter cookies during a particularly chaotic Tuesday when I had exactly peanut butter, sugar, and an egg in my kitchen, and somehow they turned into the most craveable treat. The smell that fills your oven in those 10 minutes is genuinely misleading—it makes you think you've made something far more complicated than you actually have. My kids now request them more often than the elaborate cookies with half a dozen mix-ins, which tells me everything about their pure, unapologetic charm.
I made these for a friend who mentioned off-handedly that she missed traditional cookies since going gluten-free, and watching her realize these had no flour was genuinely satisfying. She ate three while they were still warm and asked if I'd made a mistake, certain something was missing. That's when I understood these weren't just convenient—they were legitimately delicious in their own right, not a workaround but an actual treat worth craving.
Ingredients
- Creamy peanut butter: The foundation of everything here—use unsweetened or lightly sweetened, and yes, the natural stuff with just oil and salt works beautifully if that's what you have.
- Granulated sugar: This is what creates the slight structure and that gorgeous crackle on top as they bake.
- Large egg: Your binding agent and the secret to why these are chewy rather than cakey or dense.
Tired of Takeout? 🥡
Get 10 meals you can make faster than delivery arrives. Seriously.
One email. No spam. Unsubscribe anytime.
Instructions
- Set your oven and prep:
- Preheat to 350°F and line your baking sheet with parchment paper—this step takes 90 seconds and saves you from scraping cookie residue later.
- Combine and blend:
- Mix peanut butter, sugar, and egg in a bowl until the texture is completely smooth and unified; it should look like thick peanut butter with no visible streaks of unmixed sugar.
- Shape into balls:
- Scoop tablespoon-sized portions and roll them between your palms until round, then arrange them about 2 inches apart on your prepared sheet to give them room to spread slightly.
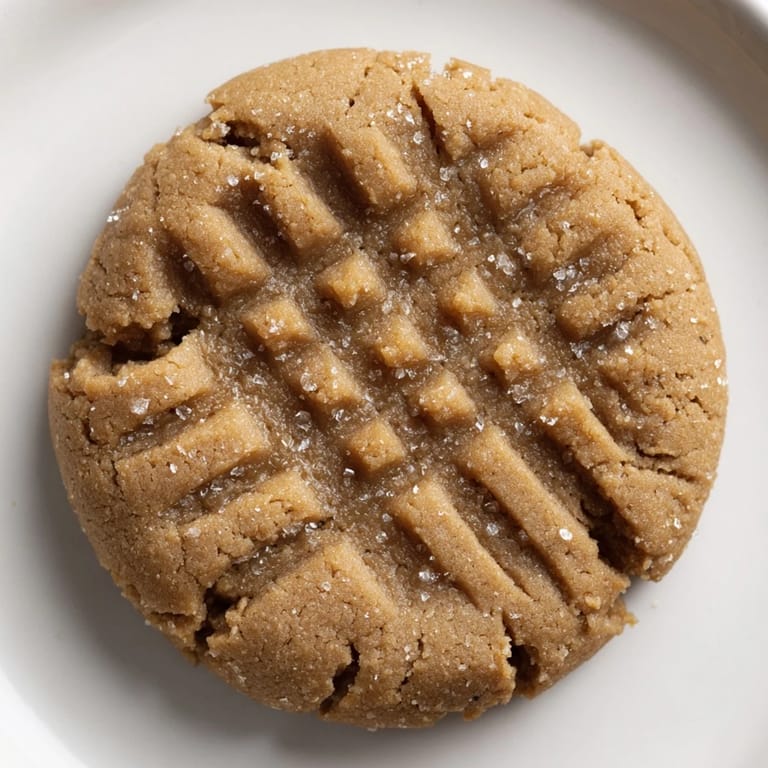
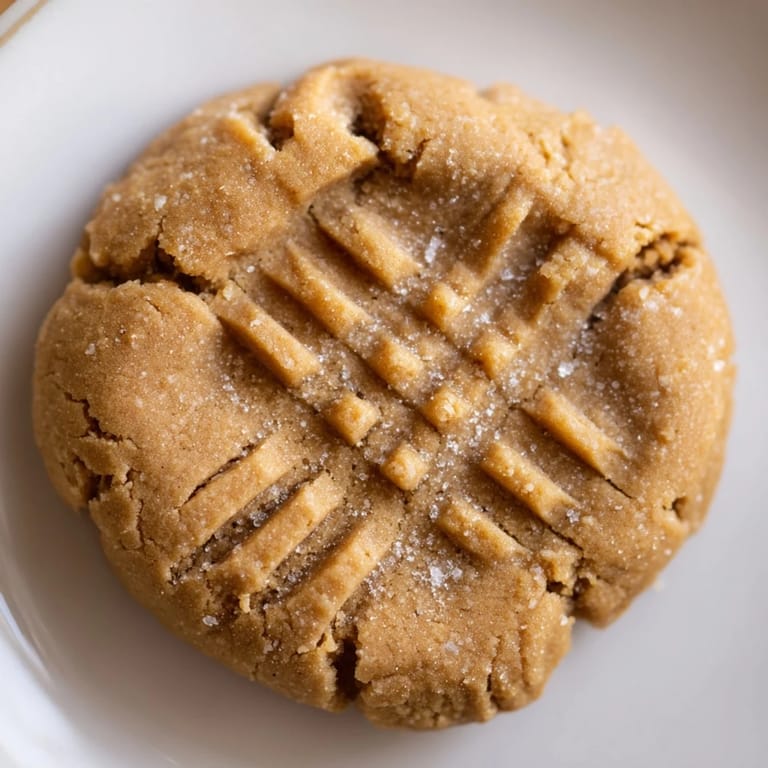
- Make the crisscross pattern:
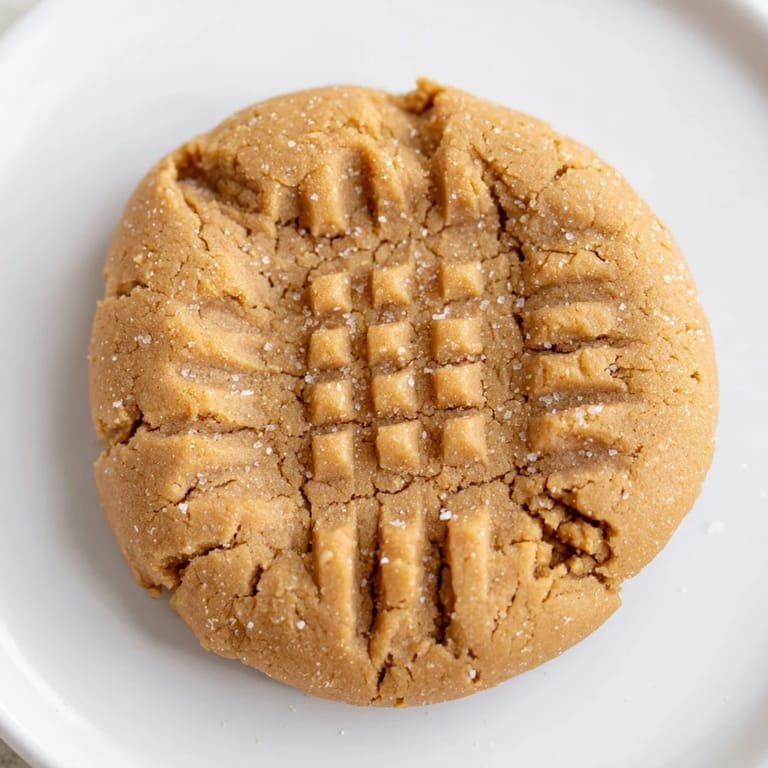
- Gently press each ball with a fork in both directions to create that classic crosshatch—this also helps them bake evenly and creates texture that catches a bit of caramelization.
- Bake until edges set:
- Watch for the edges to look set and dry while the very centers still look slightly underbaked, which typically happens around 9 to 11 minutes; they'll finish cooking on the hot sheet.
- Cool strategically:
- Let them rest on the baking sheet for 5 minutes where they'll firm up slightly, then transfer to a wire rack; this prevents them from becoming too soft or too crispy depending on your preference.
 Save to Pinterest
 There was a moment when my family stopped treating these as a gluten-free backup option and started requesting them specifically because they wanted them, not because they had to. That shift from accommodation to genuine preference is when you know you've stumbled onto something special in the kitchen.
Flavor Variations That Actually Work
The beauty of this simple formula is how adaptable it becomes once you understand the base. A pinch of sea salt brightens the peanut flavor in a way that feels sophisticated, while vanilla extract adds a subtle warmth that makes people wonder what secret ingredient you added. If you're feeling adventurous, pressing a single chocolate chip into the center before baking creates this lovely melted surprise that somehow elevates the entire cookie without changing what makes it special.
Storage and Making Ahead
These cookies stay soft and fresh in an airtight container for about five days, which is both blessing and curse depending on your willpower. The dough also freezes beautifully—you can scoop and freeze the balls, then bake directly from frozen, adding just a minute or two to the baking time, which means you can have fresh warm cookies on demand whenever the craving strikes.
Why Three Ingredients Is Actually Enough
There's a cooking philosophy that says more ingredients equal better flavor, but these cookies disprove that entirely. The egg creates moisture and structure, the sugar provides sweetness and helps with browning, and the peanut butter is doing all the heavy lifting in the flavor department, creating something that tastes complete and intentional rather than stripped down. When you nail the fundamentals, you don't need anything else.
- Keep your oven temperature accurate—even 25 degrees makes a difference in how chewy these end up being.
- Use a cookie scoop if you have one so every cookie bakes at the same rate and looks uniform.
- Don't skip the cooling time on the baking sheet; it's not optional despite how eager you feel.
 Save to Pinterest
 These cookies remind me that sometimes the best recipes aren't the ones with the longest ingredient lists or most complicated techniques. They're the ones that show up when you need them most and somehow taste like both comfort and surprise at the same time.
Recipe FAQs
- → Can I use natural peanut butter for these cookies?
Yes, natural peanut butter can be used, but it may result in a slightly different texture and flavor. Make sure it’s well stirred to combine the oils evenly.
- → How do I achieve the classic fork crisscross pattern on the cookies?
After rolling the dough into balls, gently press them with a fork twice—once vertically and once horizontally—to create the traditional crisscross design.
- → Are these cookies suitable for gluten-free diets?
Yes, these treats do not contain any flour ingredients, making them naturally gluten-free and suitable for those avoiding gluten.
- → What is the best way to store these peanut butter treats?
Store them in an airtight container at room temperature for up to a week or refrigerate to keep them fresher for longer.
- → Can I customize the sweetness or add flavor variations?
Absolutely! You can substitute brown sugar for a richer taste, add vanilla extract, sea salt, or press chocolate chips on top before baking for extra flavor.