 Save to Pinterest
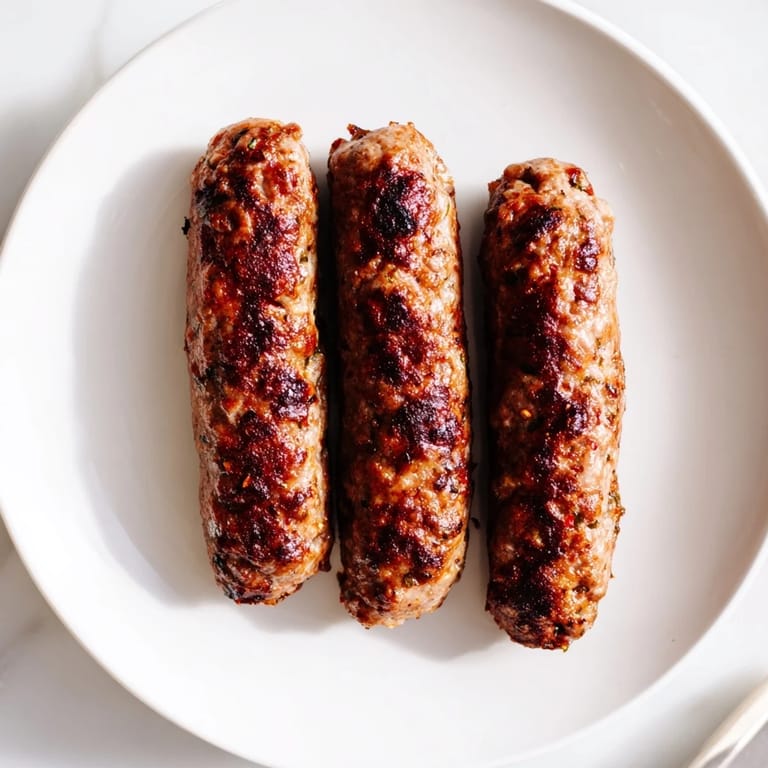
 The first time I tasted mici, I was standing at a crowded grill stand in Bucharest on a humid summer evening, the smell of charred meat and paprika wrapping around me like a warm hug. A stranger handed me one wrapped in paper, still steaming, and I bit into it without thinking—the outside crackled between my teeth while the inside released this impossible tenderness mixed with garlic and spice. I went back three times that week, then spent months trying to recreate that exact moment in my own kitchen. What I learned is that mici aren't complicated, but they demand respect for their simplicity.
I remember my neighbor, a retired butcher from Cluj, watching me shape my first batch and nodding without a word—until I finished, and he said, 'Good, you didn't overwork them.' That quiet approval meant more than I expected, and it's stuck with me every time I make them since.
Ingredients
- 500g ground beef (80/20 ratio): The backbone of the sausage; the fat is non-negotiable because it keeps everything juicy when the outside chars.
- 300g ground pork: Adds sweetness and a silkier texture that pure beef can't achieve alone.
- 200g ground lamb: This is where tradition lives—it brings a subtle earthiness that makes people pause and ask what's different about yours.
- 5 cloves garlic, finely minced: Raw garlic here becomes mellow and almost sweet after grilling, nothing harsh or overpowering.
- 1½ tsp smoked paprika: The soul of the dish—use Hungarian if you can find it, and don't skimp because the smoke fades slightly during cooking.
- 1½ tsp ground black pepper: Fresh ground makes a noticeable difference; pre-ground tastes flat by comparison.
- 1½ tsp ground coriander: A whisper of brightness that nobody identifies but everyone notices is missing if you forget it.
- 1½ tsp ground cumin: Echoes the warmth of the paprika without competing; they're meant to work together.
- 1 tsp dried thyme: Gives an herbal anchor that keeps the spice blend from feeling one-dimensional.
- 1 tsp baking soda: The secret weapon—it aerates the mixture just enough to make them tender instead of dense, and it's worth the extra step of waiting for it to react.
- 2 tsp salt: Dissolves into the meat and helps it bind; taste as you go because no two batches of stock are identical.
- 200ml cold beef stock or sparkling water: The liquid matters more than people think—sparkling water creates extra lift and crispness because of the CO2, while stock adds depth; I use half of each when I'm not sure.
- 1 tbsp vegetable oil: Just enough to keep your hands from sticking and to prevent sticking on the grill without greasing the meat.
Tired of Takeout? 🥡
Get 10 meals you can make faster than delivery arrives. Seriously.
One email. No spam. Unsubscribe anytime.
Instructions
- Combine the meats:
- Dump all three meats into a large bowl and mix with your hands until they're evenly blended—don't overthink it, just make sure you don't have any pockets of pure beef or pork. This takes about a minute.
- Build the spice base:
- Add every spice, the baking soda, and salt right on top of the meat and mix thoroughly again, working it in with your fingers until the whole mixture looks darker and smells suddenly alive. You'll notice the baking soda might fizz slightly if there's any moisture in the bowl; that's exactly what you want.
- Knead in the liquid:
- Pour the cold stock (or sparkling water) in slowly while kneading the mixture like you're making bread, for about five minutes until it becomes noticeably sticky and holds together. The kneading develops a slight elasticity in the meat that's invisible but changes the texture completely.
- Rest and chill:
- Cover the bowl and refrigerate for at least two hours, though overnight is when the real magic happens—the flavors stop being individual ingredients and become one voice. I set a timer so I don't forget about it.
- Shape with intention:
- Oil your hands lightly and scoop about 30ml of mixture into your palm, then roll it gently between your hands into a cylinder about 8-10cm long and 2cm thick—think of the shape as a thick pinky finger, not a sausage. The gentler you are, the more tender they'll be when cooked.
- Prepare your heat:
- Get your grill to medium-high and let it preheat for at least five minutes so it's genuinely hot; cold grates mean the mici will stick. Lightly oil the grates once they're hot, just enough that food won't grab.
- Grill with patience:
- Place each mici on the grill and don't touch it for the first three to four minutes—that's when the outside is developing that crackly, caramelized crust. Flip once with tongs, grill another three to four minutes until all surfaces are deep brown and the meat feels firm to the touch, not squishy.
- Rest before serving:
- Let them sit on a warm plate for two minutes so the inside stays tender while the outside sets; this is the difference between good mici and ones that burst when you bite them.
 Save to Pinterest
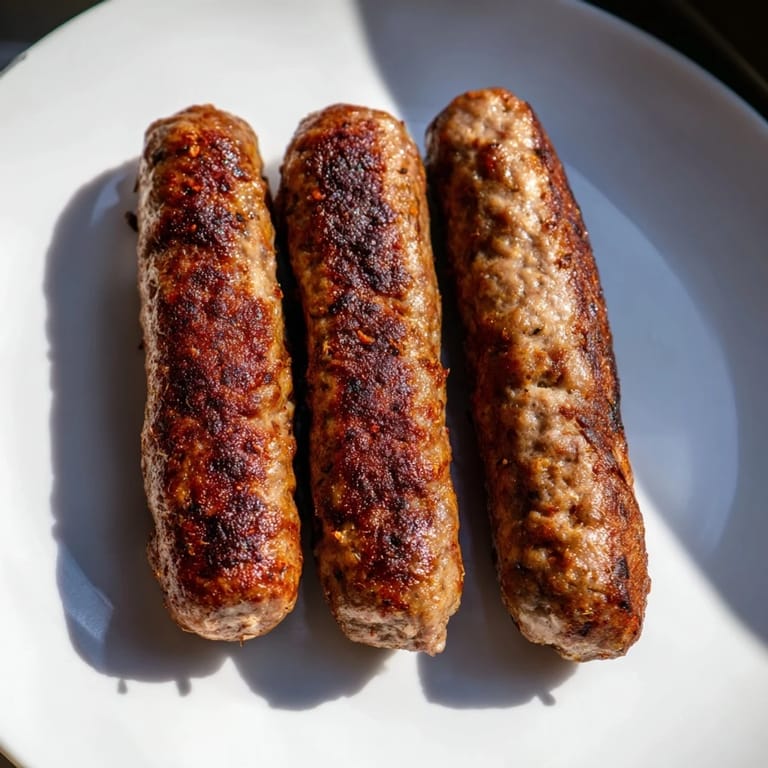
 There's a moment, maybe three minutes into grilling, when the smell hits you so intensely that you understand why people queue at street vendors for these. It's garlic and smoke and something ancient all at once, and you realize you've made something worth the effort.
Why Grilling Changes Everything
Mici aren't mici if they're boiled or baked—the grill creates a contract between fire and meat that nothing else can replicate. The char on the outside seals in the juices while the inside stays tender, and you get this textural contrast that's almost shocking if you're used to regular sausages. Even a grill pan works fine if you're apartment-bound, though the marks won't be as romantic.
The Secret to Juiciness
Everyone asks how mine stay so wet inside when they're clearly cooked through, and the answer is partly the baking soda, partly the fat ratio, and partly respecting the resting time. But honestly, it's also about not overcooking them—they finish cooking slightly after you pull them off the heat, so the moment they feel firm but still slightly yielding is exactly when you should stop. I used to cook them longer because I was nervous, and they were always dry; now I trust my instincts and they're perfect.
Serving and Pairing
Mici taste best served immediately, still warm, with sharp mustard (the kind that makes you wince slightly) and fresh bread for soaking up the juices. A cold lager is the drink of choice for a reason—the bitterness and carbonation cut through the richness and make you want another mici, and then another. I've served these at casual dinners and they always disappear first, before anyone even touches the salad.
- Always make extra because people will eat more than they think they will, and cold leftover mici sliced into a sandwich the next day is breakfast if you're lucky.
- Keep them warm in a low oven if you're grilling in batches, wrapped loosely in foil so the steam doesn't soften the crust.
- Leftover raw mixture keeps in the fridge for three days and freezes beautifully for up to three months, so you can shape and grill whenever the craving hits.
 Save to Pinterest
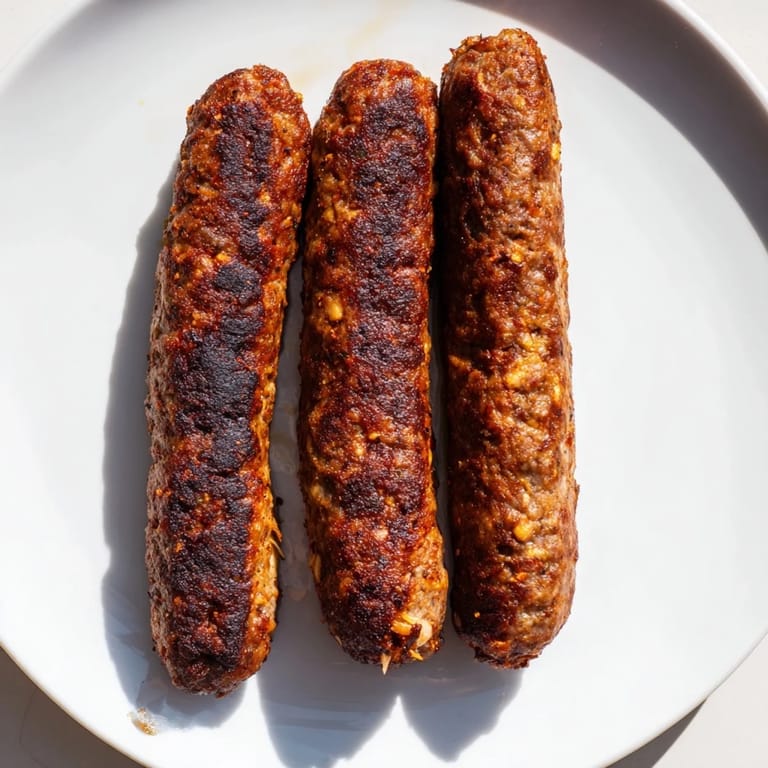
 These sausages have a way of becoming ritual—I've made them for new neighbors, skeptical friends, and quiet Tuesday nights when nothing else felt right. They're proof that the simplest foods, made with care and real ingredients, are often the ones that matter most.
Recipe FAQs
- → What meats are traditionally used in mici?
Ground beef and pork form the base, often complemented by ground lamb for authentic flavor and richness.
- → How do I get the mici crispy on the outside?
Grill the rolls over medium-high heat, turning frequently until browned and slightly charred on all sides.
- → Can sparkling water be used instead of beef stock?
Yes, substituting sparkling water helps enhance juiciness without altering the spiced flavor.
- → How long should the mixture rest before shaping?
Chill the mixture for at least 2 hours or ideally overnight to develop deeper flavors and firmer texture.
- → What side dishes pair well with Romanian mici?
Classic accompaniments include mustard, fresh bread, and cold beverages like lager or Romanian white wine.
- → Are there gluten concerns with mici?
Typically gluten-free, but it's important to check stock and spice labels for hidden gluten or additives.